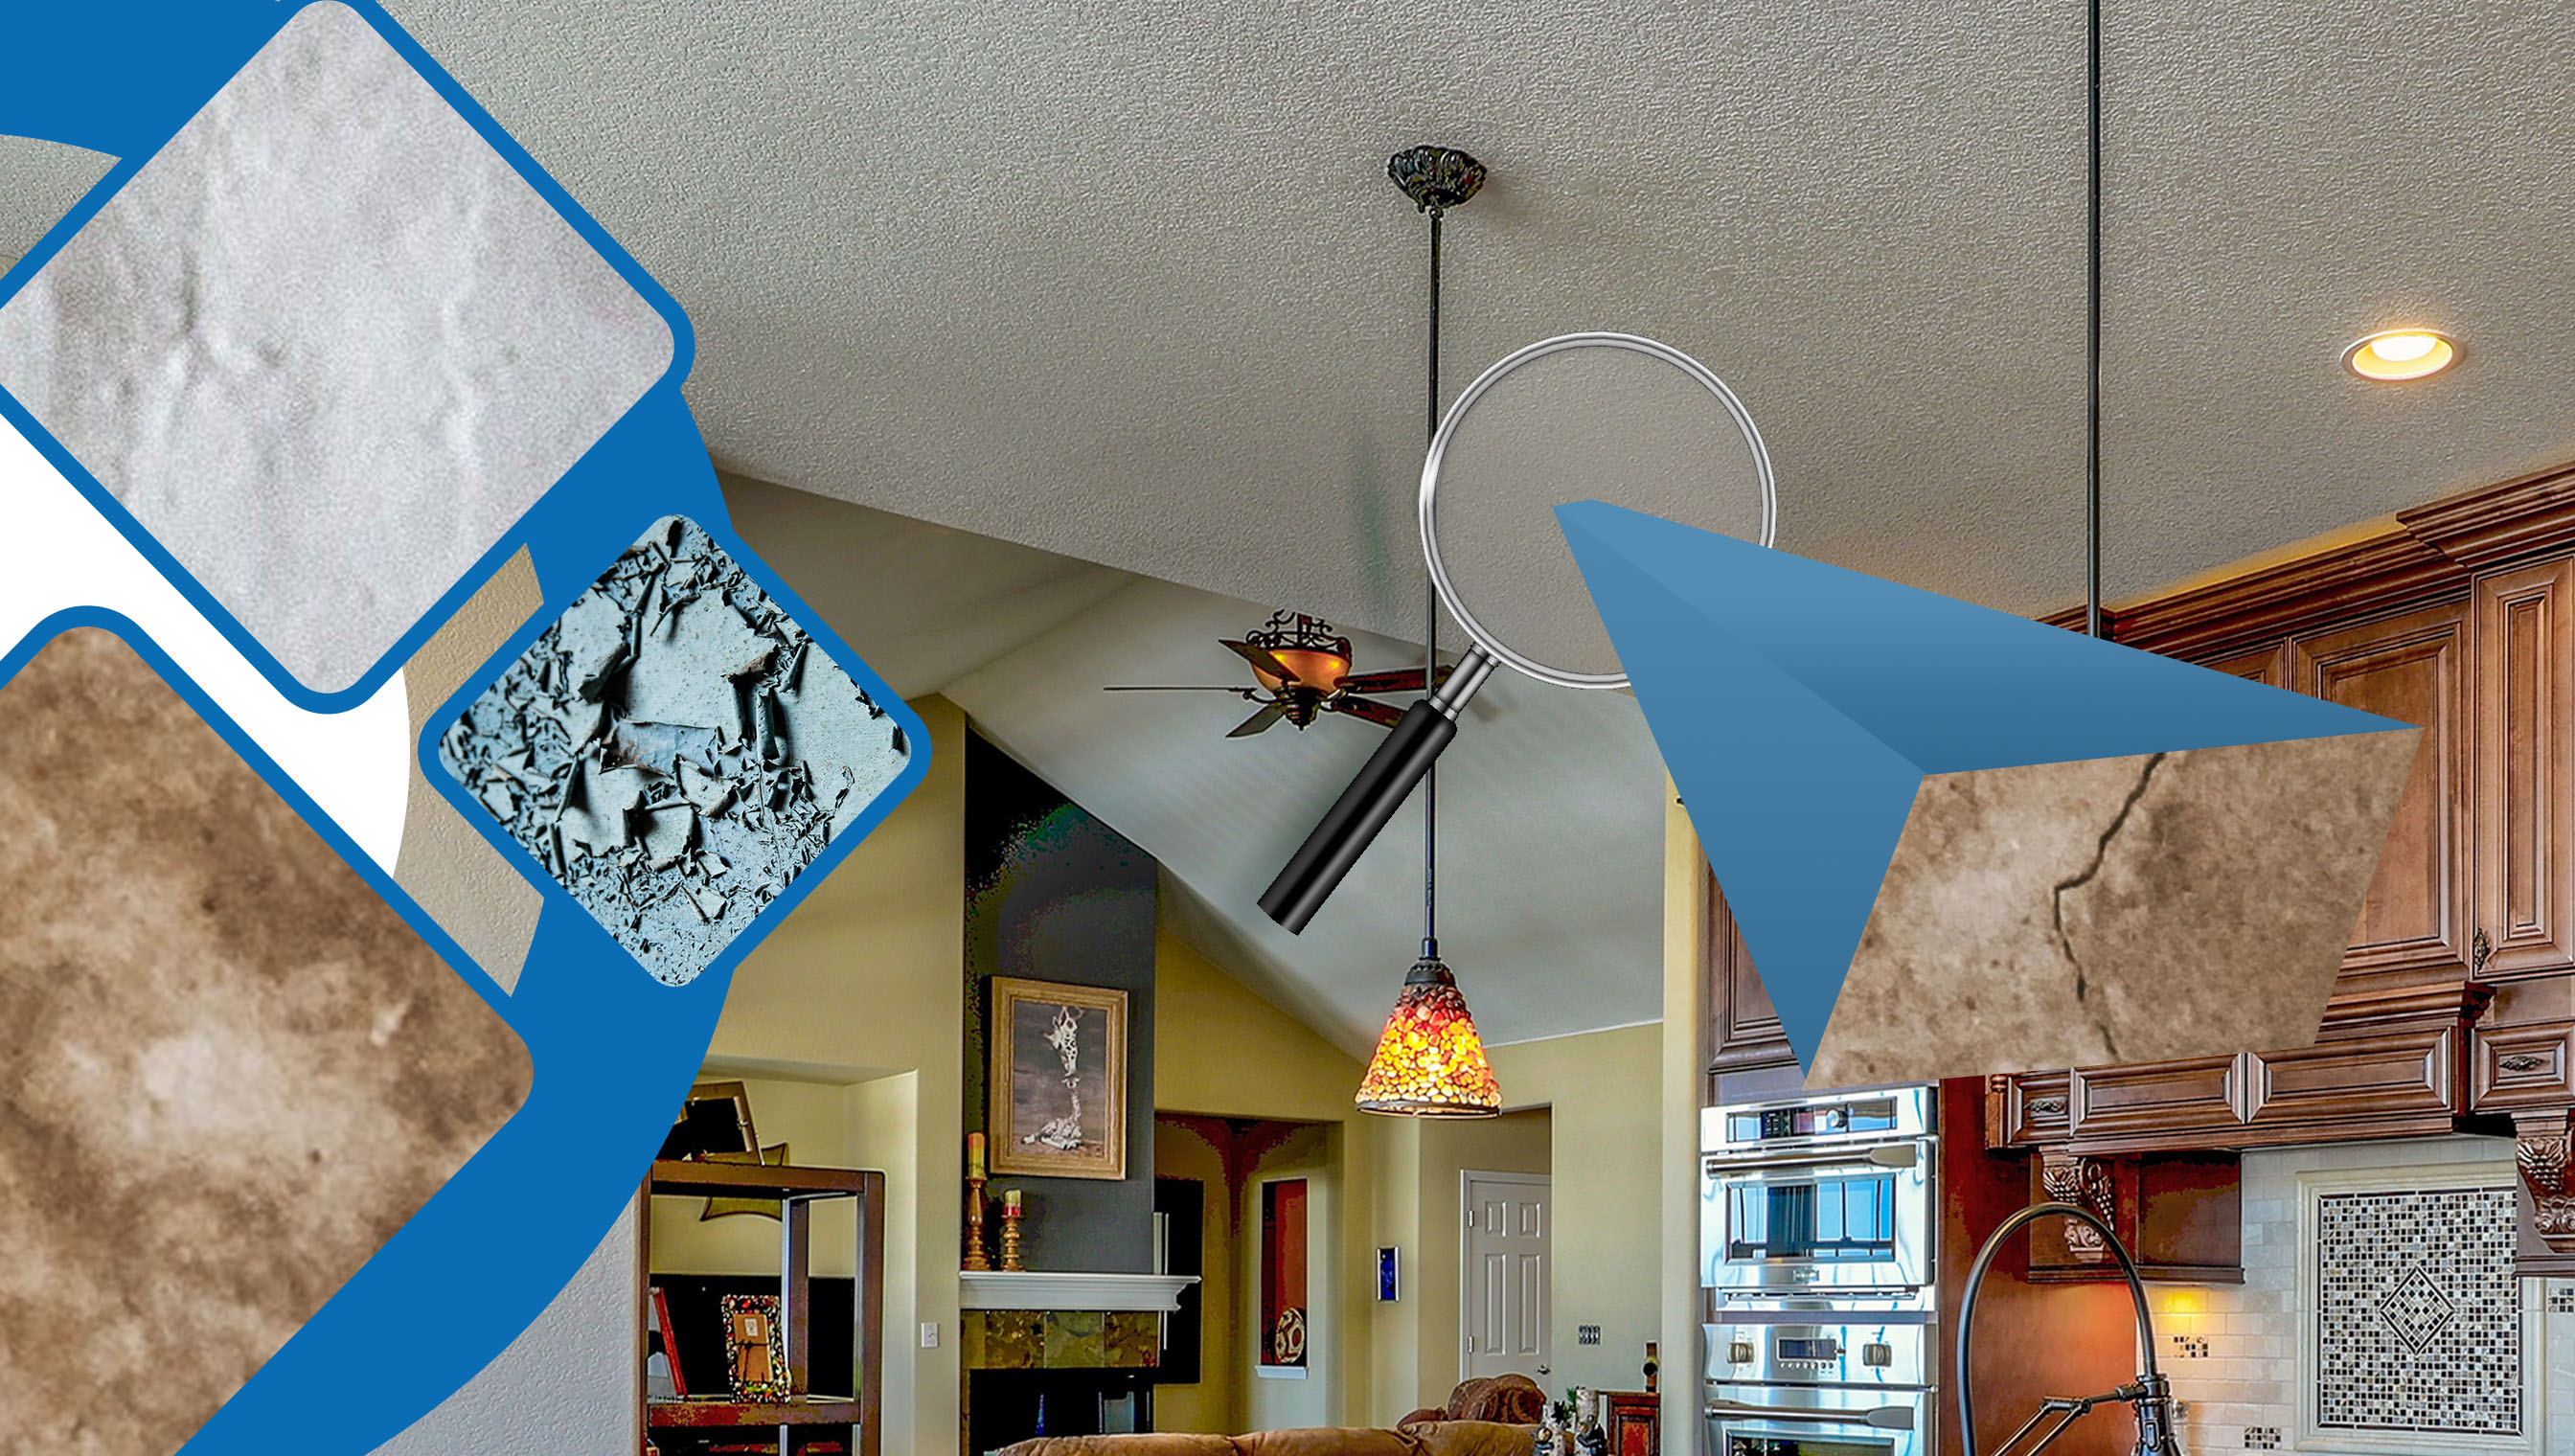
If you’ve noticed water damage in your plasterboard ceiling, you’re not alone. It’s a common issue due to leaks from pipes, broken roof tiles, or weather damage.
However, the good news is that you can often fix it by following these simple steps. Here’s a straightforward guide to help you repair a water damaged ceiling effectively.
Step 1: Identify and Fix the Source of Water Damage
Before you grab your tools, it’s crucial to find out what caused the water damage in the first place. Check for leaks from your roof, around windows, or from plumbing issues.
Common sources include:
- Broken roof tiles
- Faulty flashing
- Leaking pipes
Fix the leak to prevent any further damage. Once you’ve addressed the source of the problem, ensure the area is completely dry to prevent mould growth, particularly in the ceiling cavity.
If you’re considering a ceiling repair Perth, taking these steps first will help ensure a successful and lasting fix.
Step 2: Remove Damaged Material
Once the area is dry, it’s time to assess the damage. Use a putty knife to gently scrape away any cracked paint or flaking plaster around the area.
If the plasterboard is sagging or significantly damaged, you may need to cut out the affected sections. A plasterboard saw can be handy for this task, especially when you need to make precise cuts.
Afterwards, learning how to clean ceiling wall properly is important to ensure a smooth surface for patching later on.
Step 3: Prepare the Area for Repair
For minor damage, you can fill in any holes or small cracks with a joint compound. This compound works like a filler to smooth out imperfections.
For larger damage, you’ll need to replace the affected section with a new piece of plasterboard. Cut it to fit the hole, secure it with screws, and ensure it’s flush with the existing ceiling; if you need assistance, don’t hesitate to contact us for a free ceiling consultation in Perth.
Step 4: Apply Joint Compound
With the area now clean and prepped, apply a thin layer of joint compound over the damaged area using a putty knife. This layer will help blend the new and old surfaces.
Allow the compound to dry completely—this usually takes a few hours, depending on the humidity and temperature. Once it’s dry, lightly sand the area using 120-grit sandpaper until it’s smooth; if you need professional help, call us now for gyprock ceiling repairs in Perth!

Step 5: Reinforce and Finish
If you notice any cracks, stick self-adhesive reinforcement tape over them and then cover them with more joint compound. This step adds extra strength to the repair.
After the compound has dried, sand it down until it’s nice and smooth again. Lastly, a stain-blocking primer should be applied over the repaired area, as it is essential in preventing any water stains from bleeding through your fresh paint.
If you’re unsure about the process or need assistance, feel free to email us for ceiling repair in Perth!
Step 6: Paint the Ceiling
Once the primer is dry, you can paint the repaired area with ceiling paint. Depending on the extent of the damage, you might want to consider painting the entire ceiling to achieve a uniform look.
Choosing a good quality paint will not only improve appearance but also protect against moisture in the future.
Considerations Before You Start
While many DIY enthusiasts will find these steps manageable, it’s important to know when to call in a professional. If the damage is extensive, or if the plasterboard is very old and compromised, it might be more cost-effective to replace the entire section instead of trying to repair it.
Also, if you’re not comfortable with any of the tools or techniques mentioned, seeking professional help can save you time and stress. Repairing a water-damaged plasterboard ceiling might seem daunting, but by following these straightforward steps, you can restore your ceiling’s appearance and prevent future issues.
Remember, always take the time to address the source of the water damage first, and don’t hesitate to seek help if you need it. By staying proactive, you can maintain a beautiful and safe home.
With this guide in hand, you’re ready to take on the task of repairing your ceiling. Good luck, and happy DIYing!
Reviewed by
Aaron Kumar
Aaron Jefferson Kumar. The owner and operator of Perth Ceiling and Walls. With hands-on expertise in plasterboard ceiling and wall repairs and installations, Aaron takes pride in ensuring every project meets the highest standards of quality and craftsmanship. His direct involvement in both the business and the fieldwork positions him as a trusted person on all things related to ceiling and wall solutions.
