A sagging garage ceiling may seem like a minor inconvenience, but it can quickly escalate into a serious problem. What starts as a slight dip in the drywall could soon lead to structural failure, costly repairs, and even safety hazards for your family and vehicles.
If you’ve noticed your garage ceiling starting to sag, don’t ignore it—early intervention can save you from expensive damage. In this article, we’ll cover the risks, common causes, and DIY fixes, and explain when it’s time to call a professional sagging ceiling repair specialist.
Why Your Sagging Garage Ceiling is a Bigger Problem Than You Think
any homeowners overlook the early signs of ceiling sagging, only to face major consequences later. Here’s why it’s crucial to address the issue as soon as possible:1. >1. Ceiling Collapse is a Real Risk
ging ceiling means the materials are weakening or detaching from the support structure. Over time, this can result in a complete collapse, causing severe damage to your property—and possibly injuring anyone in the garage.2. It>2. It Can Lead to Costly Repairs
uld be a simple fix today might turn into a full ceiling replacement if left unattended. A minor sag might only require re-securing drywall, while a major collapse could cost thousands in repairs.3. It>3. It Affects Property Value
plan to sell your home, a sagging garage ceiling can lower property value and deter potential buyers. Structural issues often raise red flags for home inspectors and real estate agents.4. In>4. Insurance May Not Cover Neglect
surance policies won’t cover damage caused by neglect. If your ceiling collapses due to prolonged sagging, your claim may be denied—leaving you with a hefty repair bill.Common Ca>Common Causes of a Sagging Garage Ceiling
"wp-block-image size-full">
Understanding what causes ceiling sagging is key to preventing it from getting worse. Below are the most common reasons for a drooping garage ceiling:
1. Poor I>1. Poor Installation
block-list">2. Moisture>2. Moisture Damage
ock-list">3. Structur>3. Structural Issues
ock-list">4. Pest Inf>4. Pest Infestation
ock-list">5. Overloaded>5. Overloaded Attic Space
k-list">Assessing the>Assessing the Severity: When to DIY and When to Call a Pro
into repairs, it’s essential to assess the damage and decide whether a DIY approach is safe or if a professional is needed.Signs You Can DIY:
✅ Minor sagging (less than ½ inch drop).
✅ No water damage, cracks, or structural issues.
✅ The ceiling panels are still firmly attached.
Signs You Need a Professional:
❌ Sagging of 1 inch or more.
❌ Water damage, mold, or soft drywall.
❌ Visible cracks or separation from ceiling joists.
❌ Large sections affected or previous repair failures.
Also Read: Signs of Water Damage Ceiling
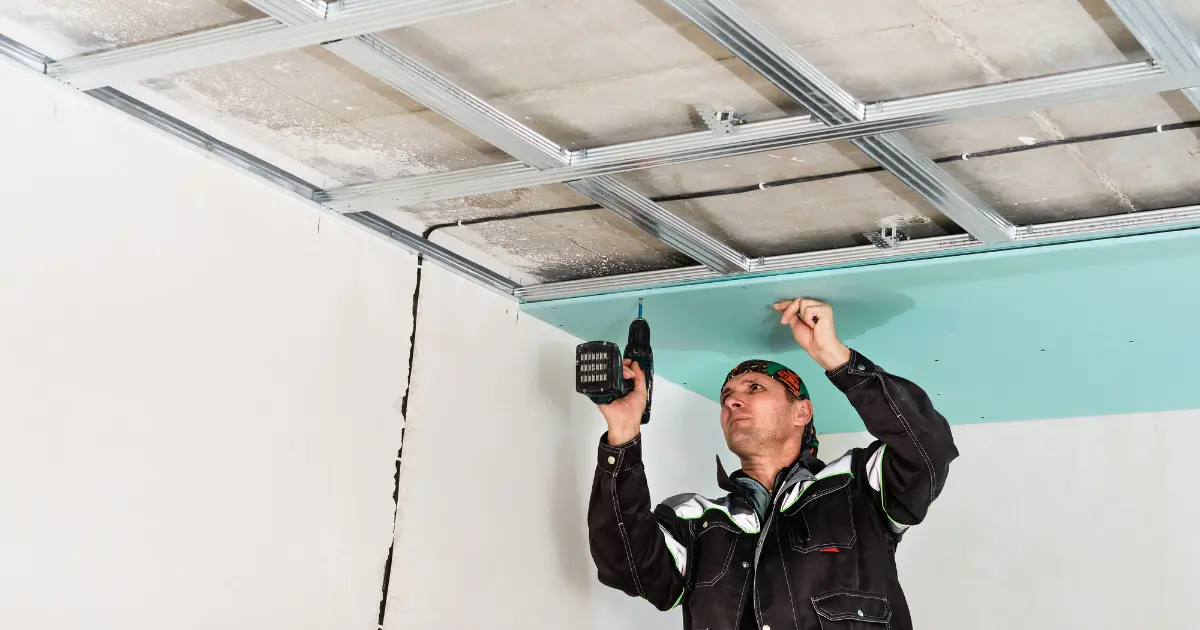
DIY Fixes for a Sagging Garage>DIY Fixes for a Sagging Garage Ceiling
u can attempt a DIY fix using the following steps:Step 1: Identify the CauseStep 1: Identify the Cause
k for roof leaks and moisture issues.Step 2: Reinforce the Ceiling wi>Step 2: Reinforce the Ceiling with Drywall Screws
a drill and drywall screws, reattach sagging areas to the ceiling joists.Step 3: Replace Damaged Drywall >Step 3: Replace Damaged Drywall Panels (If Needed)
tions of the ceiling are too damaged, cut out the affected drywall.Step 4: Add Support Beams (For H>Step 4: Add Support Beams (For Heavy Ceilings)
l furring strips or wooden support beams across joists for additional stability.Step 5: Seal, Paint, and Finish<>Step 5: Seal, Paint, and Finish
he ceiling is secured, apply joint compound over screw holes.⚠ Warning: If sagging returns after DIY repairs, there may be an underlying issue—it’s best to call a professional.
Why Professional Ceiling Repair is the>Why Professional Ceiling Repair is the Best Solution
aligncenter size-full is-resized">
While DIY fixes work for minor sagging, severe cases require professional expertise. Here’s why hiring a ceiling specialist is the best choice:
1. Expert Diagnosis & Long-Term Solu>1. Expert Diagnosis & Long-Term Solutions
uctural issues that DIY repairs might miss.2. Advanced Tools & Techniques2. Advanced Tools & Techniques
grade materials for long-lasting reinforcement.3. Safety First
Work>3. Safety Firstssionals have experience & safety equipment.
4. Warranties & Guarantees<>4. Warranties & Guarantees
fer warranties, ensuring peace of mind.Fix It Before It’s Too Late!Fix It Before It’s Too Late!
esore—it’s a warning sign of potential structural failure. Addressing it early can save you money, time, and stress.For minor issues, DIY fixes can help. But if your ceiling has significant sagging, water damage, or cracks, it’s best to seek professional repair services.
Don’t wait until it’s too late! Contact Perth Ceiling and Walls today for a free consultation and expert repair services.
