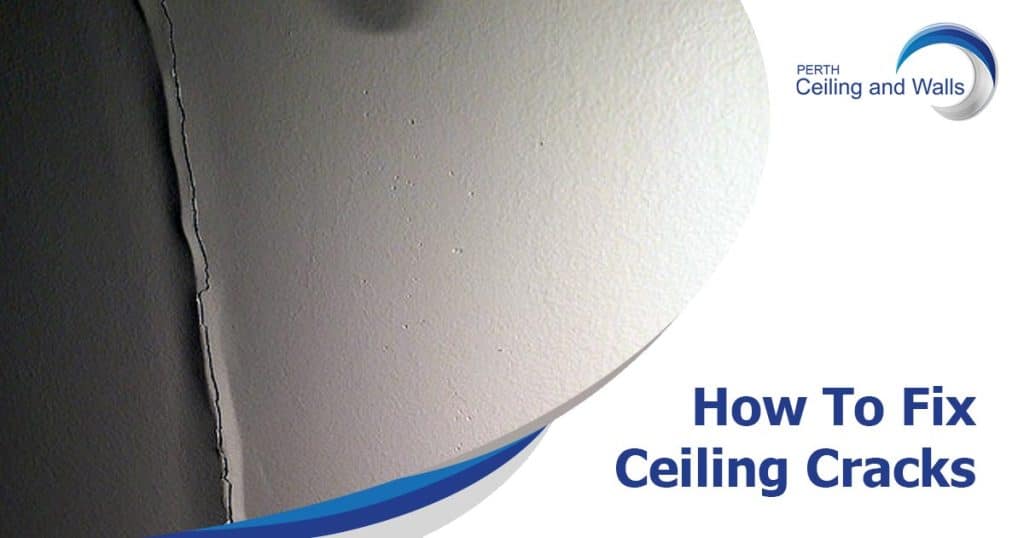
Ceiling cracks, though often overlooked, can be a sign of underlying issues in a home. While some cracks are harmless and merely cosmetic, others can indicate serious structural problems. This guide will help you understand, identify, and address ceiling cracks in your home.
Cracks on the ceiling can appear for a variety of reasons. From the natural settling of a house to external pressures or poor construction, it’s essential to understand the cause to address the issue effectively.
Ceiling crack repair is not just about aesthetics; it’s about ensuring the safety and longevity of your home. By addressing these issues promptly, homeowners can prevent further damage and maintain the integrity of their living spaces.
Ceiling Types and Their Common Issues
Different homes feature various ceiling types, each with its unique set of issues. Recognising these issues can help homeowners identify and address potential issues more effectively.
Older Homes Issues
The traditional plaster and lath ceilings can develop cracks over time due to movements and vibrations in the house. Key signs to watch out for:
- Large chunks of plaster falling, indicating a compromised ceiling structure.
- Small, superficial cracks that don’t pose immediate threats but can be unsightly.
Modern Homes Issues
Modern homes often use gyprock plasterboard as durable material for ceilings. However, cracks can still appear due to poor installation, house settling, or structural issues. These cracks often form where the ceiling meets the walls but can also spread across the ceiling.
Step-by-Step to Fix Ceiling Cracks
Fixing ceiling cracks can be a straightforward process if you have the right tools and guidance. Here’s a quick guide to help you address those unsightly cracks:
1. Preparing the Area
- Lay down plastic sheets to protect your floor and furniture from debris.
- Ensure your ladder is stable before climbing.
- Wear safety goggles and a dust mask to protect against debris.
2. Identifying and Removing Loose Material
- Before starting the repair, inspect the crack to determine its depth and severity.
- Use a scraper, putty knife, or drywall knife to gently remove any loose plaster, paint, or drywall around the crack.
3. Widening the Crack
- For better adhesion, slightly widen the crack using the edge of your scraper or knife. This step ensures the filler adheres properly.
4. Applying Mesh Drywall Tape Over the Crack
- Before applying the tape, ensure the area around the crack is clean and free from dust.
- Place the adhesive mesh tape over the crack, ensuring it’s smooth and covers the entire length. This tape provides a base for the joint compound.
5. Mixing and Applying the Mud
- Opt for a 5-minute mud for a quick fix. Mix it to a consistency similar to mayonnaise. However, for larger cracks, a standard joint compound may be more suitable.
- Apply the mud smoothly over the tape using a putty knife or trowel, ensuring it’s evenly spread.
- Smooth it out so it blends with the surrounding ceiling. Allow it to dry according to the manufacturer’s instructions.
6. Sanding and Painting
- Once the mud dries, use fine-grit sandpaper to sand the area gently.
- Before painting, apply a primer over the repaired area.
- Choose a paint that matches your ceiling. Using a brush or roller, paint over the repaired area.
- For best results, consider painting the entire ceiling to ensure uniformity.
7. Clean-Up
- Once the paint dries, remove the plastic sheets or drop cloths. Vacuum or sweep up any debris. Return furniture and other items to their original positions.
When to Call a Professional
Not all ceiling cracks can be fixed with a DIY approach. There are specific instances when it becomes crucial to consult a professional like Perth Ceiling and Walls.
Recognizing these signs early can prevent more significant damage and ensure the safety of your home:
- Recurring cracks after multiple repairs.
- Widespread cracks across multiple rooms.
- Signs of water damage around the cracks.
- Cracks around light fixtures, vents, or fans.
- The ceiling appears to sag or dip in areas.
- Large and deep cracks.
When in doubt, it’s always best to err on the side of caution. Professionals like Perth Ceiling & Walls have the expertise to conduct a thorough inspection, identify the root cause, and recommend the best course of action to ensure the longevity and safety of your ceiling.
Addressing ceiling cracks promptly can save you time, money, and potential hazards in the future. Whether you’re opting for a DIY fix or seeking professional help, it’s essential to act quickly and ensure the safety and beauty of your home.
FAQs
Below, we address some of the most commonly asked queries about ceiling cracks.
Why do cracks appear even in new homes?
Even new homes can settle, leading to minor cracks. However, if the cracks are extensive, it might indicate poor construction or structural issues.
How can I differentiate between a harmless crack and a dangerous one?
Superficial, thin cracks are often harmless. However, wide, deep cracks, especially those accompanied by other signs of damage, can be concerning.
How often should I inspect my ceiling for potential issues?
It’s a good practice to inspect your ceiling at least twice a year and after any significant events like storms or earthquakes. A professional inspection will also determine if there are any underlying structural issues that need to be addressed.
If you’re in need of a ceiling crack repair in Perth, don’t hesitate to call us.
About the Author
Aaron Kumar
Aaron Jefferson Kumar. The owner and operator of Perth Ceiling and Walls. With hands-on expertise in plasterboard ceiling and wall repairs and installations, Aaron takes pride in ensuring every project meets the highest standards of quality and craftsmanship. His direct involvement in both the business and the fieldwork positions him as a trusted person on all things related to ceiling and wall solutions.